Procedural Generation of Biomes
Hello friends. This week was quite eventful. The most exciting (and by that I mean terrifying) moment was definitely when someone tried to smash down the front door to my apartment whilst I was sat at my desk working. They managed to get the door partially open but luckily we had the chain on and they didn’t get through that.

I argued through the door with them for a while whilst my girlfriend called the cops. After a while of asking them to kindly fuck off they asked to just come in and collect their clothes. I told them we’d in fact been the sole occupants of this flat for five years. It took a lot of convincing for them to understand they had got the wrong apartment but eventually I pointed out the unique graffitti next to the door and without so much as an apology they conceded I was correct and went upstairs to smash another door in.
Eventually the cops came, the crazy person was sat on a bench in the street nearby. We gave statements, a locksmith came to repair the door… It turns out it was just some very confused person thinking they were breaking into their own apartment because they forgot their keys…? Well, I guess this kind of stuff occasionally happening is the price you pay for living in a busy street in Berlin. Will they come back and try to break in again? Tune in next week to find out. Anyway, forgive me the brief interlude into my real life - the real excitement this week came from the game.
Day/Night cycle
First, I animated the day/night cycle. Currently one day = 1 hour. There’s 20 minutes of night, 10 minutes of sunrise, 20 minutes of day, 10 minutes of sunset. Night time will be dangerous so make sure you’ve got walls and fires set up before your first nightfall.
The sun rising on the planet Gliese (sped up)
Animals
I wanted to spend a few days on something that has been worrying me - animals. In the alpha, animals are not visible to the player and you can only interact with them by clicking a ‘hunt’ button. For the next iteration of the game, I want fully visible animals with ‘intelligent’ behaviour - some of them will flee from you, others will hunt you, and if you’re lucky some will fling dung at you from the treetops. I was a bit worried about coding this, so I decided to have a quick look at the problem before starting on the biomes to see what was achievable.
Luckily for me, the hard parts have already been done for me. I’m using the amazing open source project rot.js to make complicated things like pathfinding and line of sight easy.
I’m pleased to say it went pretty well. The animals will behave ‘turn based’, similar to traditional roguelikes - meaning they will only take an action in response to you. If there is more than one character on the screen at once, they will only behave in response to the character closest to them. I made a simple creature that comes out at night and hunts down humans, and then it flees in the daylight. For the gifs that follow I disabled night time so you can actually see him come towards me. He looks like a large naked man at the moment - don’t worry, that won’t make it into the final game.
Here he is running towards me:

Hey come here, I just want to talk
And here he is running away

Run away!
Biomes
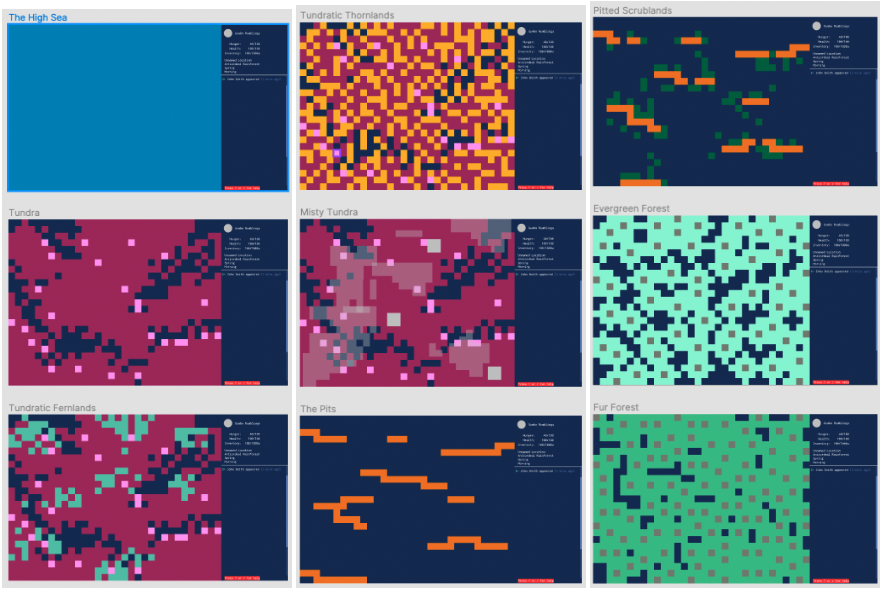
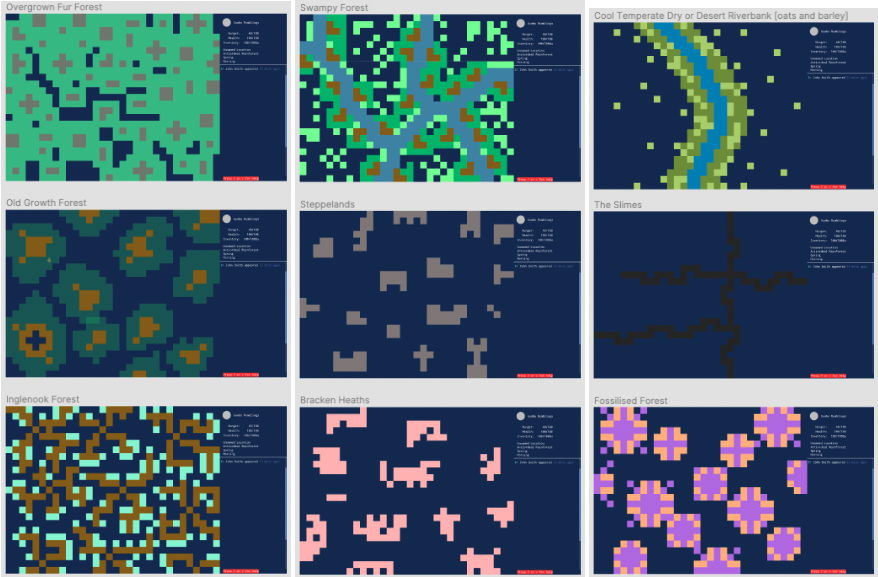
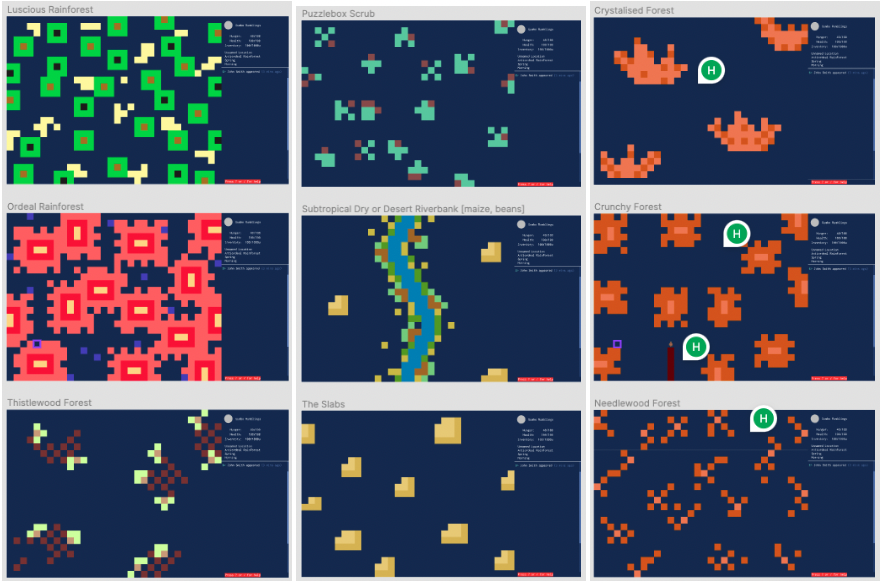
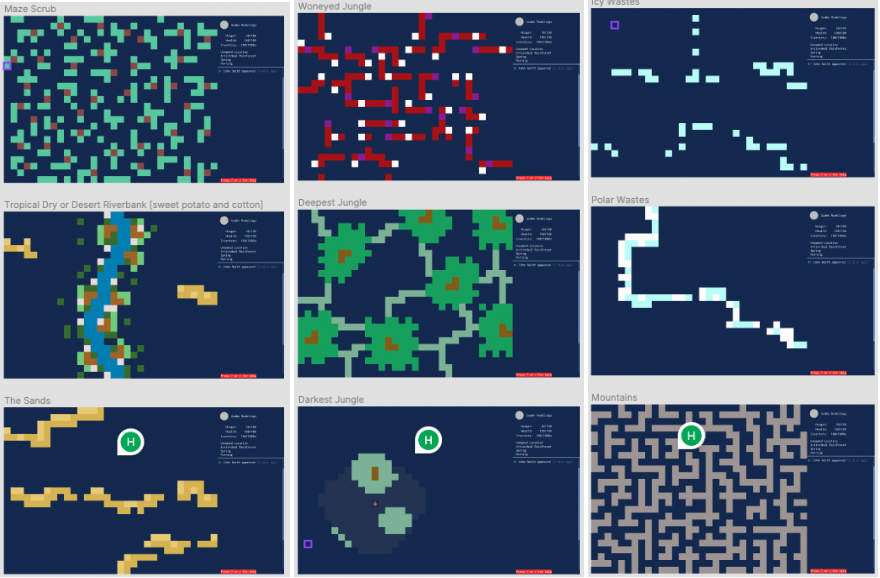
Mock ups of the biomes - each square of colour translates to a different pixel art tile
I have 45 different biomes to generate. Each comes with its own set of challenges but in general these are what I want to try to achieve:
- Objects which overflow from one panel will be shown on the next panel (no ‘half’ trees)
- Some things are ‘fully generated’ patterns such as grass clumps, magma lines
- Others are ‘rubber stamp’ style shapes such as trees, which are repeated across a panel placed seemingly at random
- Others have a set of possible stamp shapes, the full list of which can be generated by code
- Some items take the shape of randomly curved lines, linking up other shapes or points on the map
I’m going to share with you how I’m trying to create these. This week we’ll start with the basics of terrain generation. None-technical readers beware - you might want to skip to the end of this blog post.
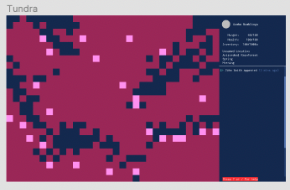
Tundra
Let’s start off by trying to generate a pattern that looks a bit like the ‘tundra’ biome shown above. We start with a simplex noise generator. This generates basically a 2D array of random numbers between -1 and 1. I created an array the height and width of one panel, then converted the result into tiles and displayed them. Any number > 0 is ‘empty’, anything < 0 is ‘water’
// generating a 2D array of noise
export function drawNoise() {
    const coords = [];

    const noise = new Noise.Simplex();

    for(var x=0; x < PANEL_WIDTH; x++) {
        for(var y=0; y < PANEL_HEIGHT; y++) {
            const noiseValue = noise.get(y, x);

            if (!coords[x]) {
                coords[x] = []
            }

            coords[x][y] = noiseValue;
        }
    }

    return coords;
}

// Then for each tile in the map, we colour it in
if (noise[rowIndex][columnIndex] > 0) {
    tile.index = tileMap['EMPTY'];
} else {
    tile.index = tileMap['WATER'];
}
Which comes out with this:
Random noise
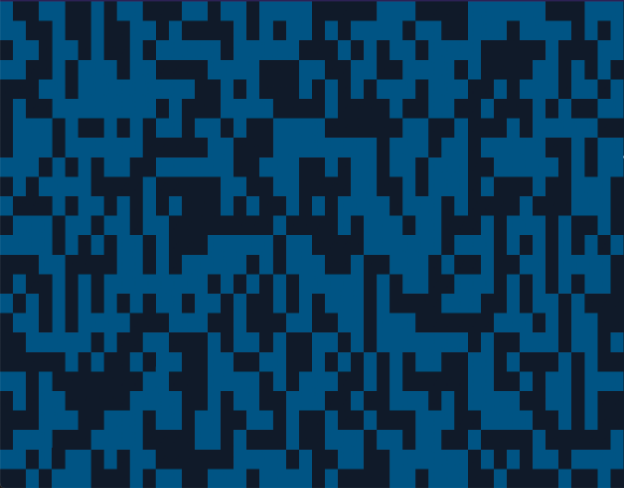
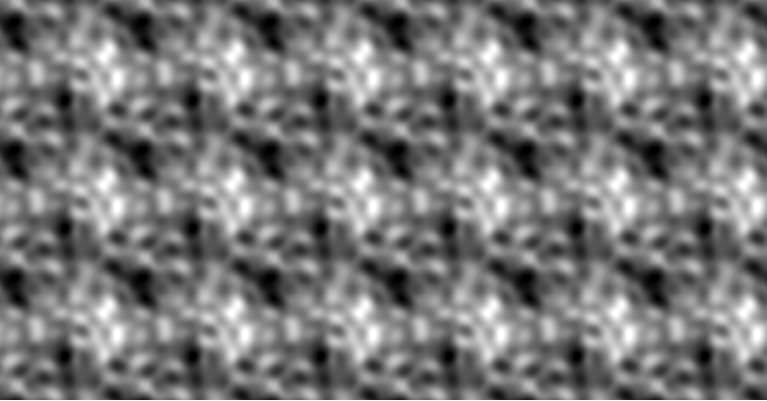
Now the cool thing about simplex noise, as opposed to just using something like Math.random(), is that you can play around with the values you put in the get different ‘types’ of noise. Lets say instead of the above snippet, we divide the x and y coordinates of the noise by 10 - this effectively ‘zooms in’ on the noise, which is called (I think) increasing the ‘amplitude’
const noiseValue = noise.get(y/10, x/10);

‘blobby’ noise (not the technical term)
Take a look at the tundra biome again.
If you look closely, what we basically have are large blobs of black and large blobs of red, but they are faded into each other. So we just need to add a fade effect to this and we’ll have something pretty close. The way to do that is by combining multiple sets of noise with different blob sizes. We call this combining different ‘octaves’ of noise. I had fun twiddling the noise strengths for a while until I came up with this
const noiseOne = drawNoise(20, 35);
const noiseTwo = drawNoise(1, 1);
const noiseThree = drawNoise(10, 10);

let finalNoise = noiseOne.map((noiseArray, x) => {
    return noiseArray.map((noiseValue, y) => (noiseValue + noiseTwo[x][y]))
})

finalNoise = finalNoise.map((noiseArray, x) => {
    return noiseArray.map((noiseValue, y) => (noiseValue + noiseThree[x][y]))
})

if (finalNoise[rowIndex][columnIndex] > 0.5) {
    tile.index = tileMap['EMPTY'];
} else {
    tile.index = tileMap['WATER'];
}
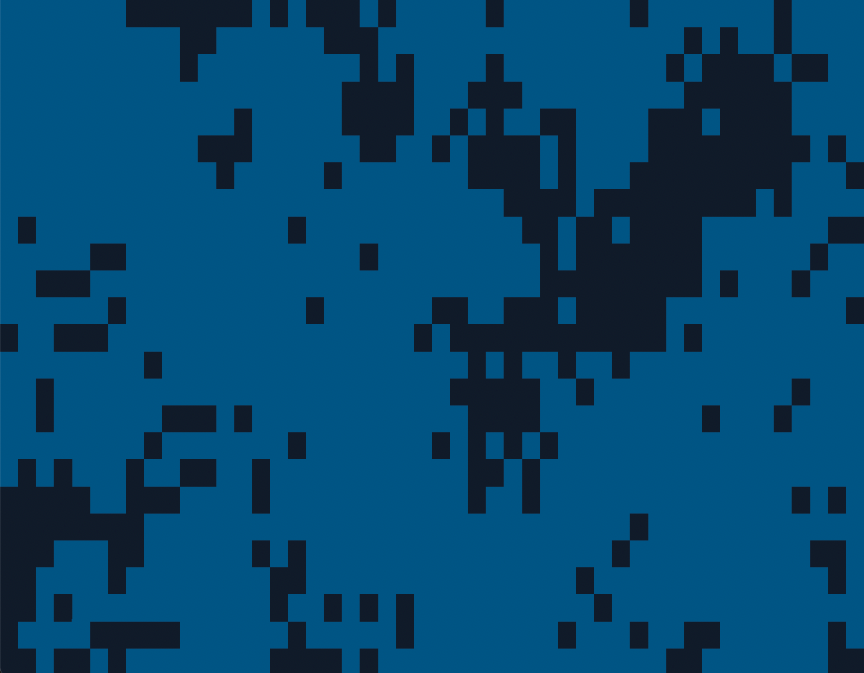
Three octaves of noise
And there we have it. By playing around with the numbers passed into the noise generator, we can come up with a surprising variety of different types of noise.
Tiling Noise
The next problem with this noise is when you move to the north and generate a new panel, the new noise bears no relation to the previous noise. You could have a large empty clump on one panel that seems to end in a solid vertical line, as on the next panel it’s all a different colour.
Changing panels feels clunky because the noise doesn’t tile
I decided to get my noise to tile. First I went off on a bit of a tangent here taking my noise to another dimension and trying to generate 4D noise and map my 2D noise onto a ‘4D hypercube’. I can confirm for any of you wondering that this does indeed create tiling noise, but in fact that’s not what I’m looking for. If you look at this image from the 4D hypercube tutorial you’ll see why:
The noise tiles in a regular and predictable fashion, but that’s not really what I’m looking for. I want truly random noise that flows into itself from one panel to the next. The correct solution for me was to actually just generate more noise - rather than a square of noise 48 wide and 25 high, we need to generate noise the height and width of the whole planet, and zoom in on the panel we’re looking at. Then when we move to the next panel, we just change the zoom location and the noise will flow from one area to the next smoothly. This was a lot easier to achieve than playing around with hypercubes and the good news is I don’t actually have to generate the full noise each time as long as I generate the noise from the correct area.
const coords = [];

const noise = makeNoise2D();

const startX = position.x * PANEL_WIDTH;
const endX = startX + PANEL_WIDTH;

const startY = position.y * PANEL_HEIGHT;
const endY = startY + PANEL_HEIGHT;

for(var x=0; x < PANEL_WIDTH; x++) {
    for(var y=0; y < PANEL_HEIGHT; y++) {
        const noiseValue = noise((startY + y)/powerValue, (startX + x)/secondPowerValue);

        if (!coords[x]) {
            coords[x] = []
        }

        coords[x][y] = noiseValue;
    }
}

return coords;
Here I can walk around and the noise flows naturally accross panels
Bonus content
Thanks for reading. I have made a little more progress than this but the article is rather long and technical already so I’ll stop here for this week. As a reward for those of you who scrolled all the way to the bottom of the page, here are the rest of the biomes as I originally came up with them a few months ago. Each of those square blobs will be translated into a beautiful pixel art tile over the coming weeks and months.